williamtekiMacBook-Pro:~ valentine$ ssh [email protected][email protected]'s password:
Welcome to Ubuntu 18.04.2 LTS (GNU/Linux 4.15.0-48-generic x86_64)
* Documentation: https://help.ubuntu.com
* Management: https://landscape.canonical.com
* Support: https://ubuntu.com/advantage
* Ubuntu's Kubernetes 1.14 distributions can bypass Docker and use containerd
directly, see https://bit.ly/ubuntu-containerd or try it now with
snap install microk8s --classic
Welcome to Alibaba Cloud Elastic Compute Service !
Last login: Tue Jun 11 12:01:11 2019
root@iZbp1gkjjwb0uadqq8s47uZ:~# mysql
Welcome to the MySQL monitor.  Commands end with ; or \g.
Your MySQL connection id is 2
Server version: 5.7.26-0ubuntu0.18.04.1 (Ubuntu)

Copyright (c) 2000, 2019, Oracle and/or its affiliates. All rights reserved.

Oracle is a registered trademark of Oracle Corporation and/or its
affiliates. Other names may be trademarks of their respective
owners.

Type 'help;' or '\h' for help. Type '\c' to clear the current input statement.

mysql> update mysql.user set authentication_string=PASSWORD('123456'), plugin='mysql_native_password' where user='root';
Query OK, 1 row affected, 1 warning (0.00 sec)
Rows matched: 1  Changed: 1  Warnings: 1

mysql> flush privileges
    -> ;
Query OK, 0 rows affected (0.00 sec)
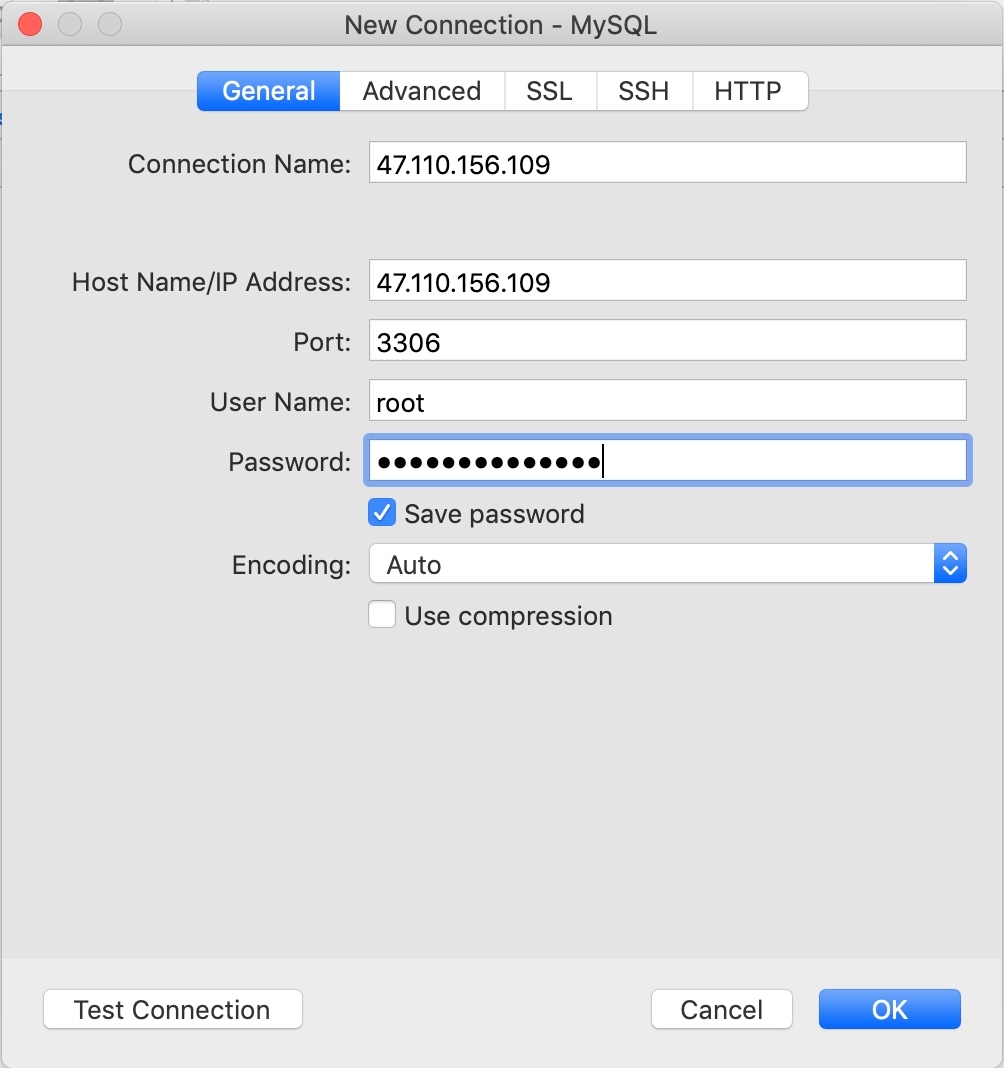
mysql -u root -p
# 修改配置文件,注释掉bind-address = 127.0.0.1
$ sudo vi /etc/mysql/mysql.conf.d/mysqld.cnf

# 保存退出,然后进入mysql服务,执行授权命令:
$ mysql -uroot -p

mysql> grant all on *.* to root@'%' identified by '123456' with grant option;
Query OK, 0 rows affected, 1 warning (0.00 sec)

mysql> flush privileges;
Query OK, 0 rows affected (0.00 sec)

mysql> exit
Bye
$ sudo /etc/init.d/mysql restart